

Fall Lawn Recovery Strategies

Fall Lawn Recovery Strategies
Mike Goatley, Professor and Turfgrass Extension Specialist
Challenging summers often result in the need for extra attention on cool-season lawns in Virginia. The challenge might simply be a cool-season lawn that has entered dormancy and it remains to be seen how much is "living" or "dead". As dire as dormant turf may look, recovery is almost always surprisingly better than anticipated once rains arrive. If the cool-season turf does not promptly green and resume growth after an appreciable rain event, then begin making preparation for renovation, using the months of September and October as the ideal window for renovating cool-season lawns.
Sometimes lawn failure over the summer is more absolute, and during either extremely wet or dry summers, cool-season lawns can be decimated by disease. Diseases warranting particular concern on our most popular cool-season lawn grass, tall fescue, are Rhizoctonia blight (aka brown patch) that shows up during warm, wet weather during the summer, rarely killing the turf, but often making it very aesthetically unpleasing because of the damage. Recovery efforts with seed are often attacked by Gray Leaf Spot or Pythium blight, especially if environmental conditions stay persistently wet. In Virginia lawn recovery periods can extend from one fall to the next if the weather stays persistently wet, even though lawn renovations in the fall are the ideal planting time for cool-season grasses. Spring seedings are always touch-and-go in Virginia, and while the moisture from a wet spring is advantageous for germination, keeping those plants alive during either a wet or dry summer is challenging. Eventually the calendar rolls around to the fall and it’s time to once again tackle lawn recovery issues.
Is it time for complete renovation? If the entire lawn has failed, then complete renovation involving an application of a non-selective herbicide such as glyphosate to control all the existing vegetation is often appropriate. If there is so little turfgrass remaining in your lawn that an application of selective weed control products will leave very little vegetation, it’s probably time for complete renovation. At this time, you have the opportunity to consider if perhaps newer varieties or maybe even another cool-season turf selection might be better suited to your situation. Do everything you can to identify WHY your lawn is failing, and use the experts at your local Cooperative Extension to aid you in this decision. Is it easy to identify ‘why’ a lawn is failing? No, and it never will be when one lives in the transition zone where you are blessed/cursed with all four seasons. A few of the common reasons cool-season lawns fail that aren’t directly related to your efforts, but are situations that you must consider and/or manage as best you can:
- extremes in heat, cold, drought, or rainfall
- poor soils (both physically and chemically)
- shade
- traffic
Grassing options. Tall fescue remains the workhorse of cool-season lawns in Virginia and there are several exceptional varieties listed under either ‘Recommended’ or ‘Promising’ categories on the annual Virginia/Maryland Turfgrass Variety Recommendations List that you can find on the Virginia Cooperative Extension publications website (along with many other lawn care publications: pubs.ext.vt.edu/). Shop for mixtures where hopefully you can find significant percentages of at least two named varieties off of this list. Mixtures of tall fescue and improved Kentucky bluegrasses (90-95% tall fescue + 5-10% Kentucky bluegrass on a volume basis) are another staple for cool-season lawns, and this combination is the standard cool-season sod product marketed around the state. The fine-leaf fescues (species are commonly called creeping red, chewings, and hard fescue) are excellent choices for shaded, lower-input lawns. If you live in a warmer area of Virginia and your cool-season lawn consistently fails, then consider that perhaps it is time to convert to one of the improved, cold tolerant varieties of zoysiagrass or bermudagrass, or in the most consistently warm climates of Virginia even centipedegrass or St. Augustinegrass. Late summer/early fall is NOT the time to establish any of these warm-season grasses, but sodding is certainly still a possibility (note that there are currently no centipedegrass or St. Augustinegrass sod producers in the state).
Spot or partial renovations. Complete lawn renovation is costly, very labor-intensive and many times is not required. Where there are a few problem spots in the lawn, do everything you can to identify why that problem spot is occurring and concentrate your renovation efforts only to that area, making plans to seed a grass that will match the existing lawn as close as possible in texture and color (i.e. seeding a very fine textured fine leaf fescue into an otherwise tall fescue lawn will result in a very distinct patch of grass). Follow the renovation steps described below, but scale them down only to the areas of need.
Conduct a soil test. One only needs to test a soil every 3-4 years for a lawn, so if this is something that has not been done, it is the first step in both solving and preventing problems that are soil-related. If you need lime or other nutrients, renovations are the ideal time to correct these limitations in a soil. Your local extension office can assist you in how to conduct and interpret a soil test through the Virginia Tech Soil Testing Laboratory or your local lawn and garden centers can point you to private labs that offer similar services.
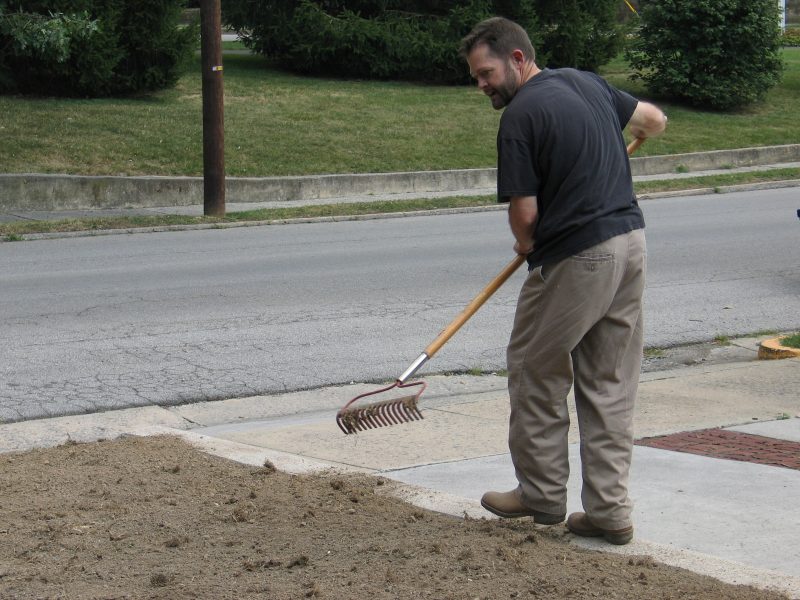
Soil preparation prior to planting is key. The final pre-plant step is to properly prepare the soil for planting. Some level of surface disruption is critical because seed and/or sod must be in contact with the soil and not existing (living or dead) vegetation. There is a name for simply sprinkling seed over top of an unprepared soil- very expensive bird food! Consider making multiple passes with a core aerator or a power rake/dethatcher (i.e. vertical mower) and remove any excessive thatch-type debris. Do-it-yourselfers can often reserve aeration or dethatching machines and/or specialized power seeders at rental stores. And if you’re not really excited about doing your own renovations, there likely is a lawn care professional that has the tools, equipment, and expertise in delivering a successful renovation.
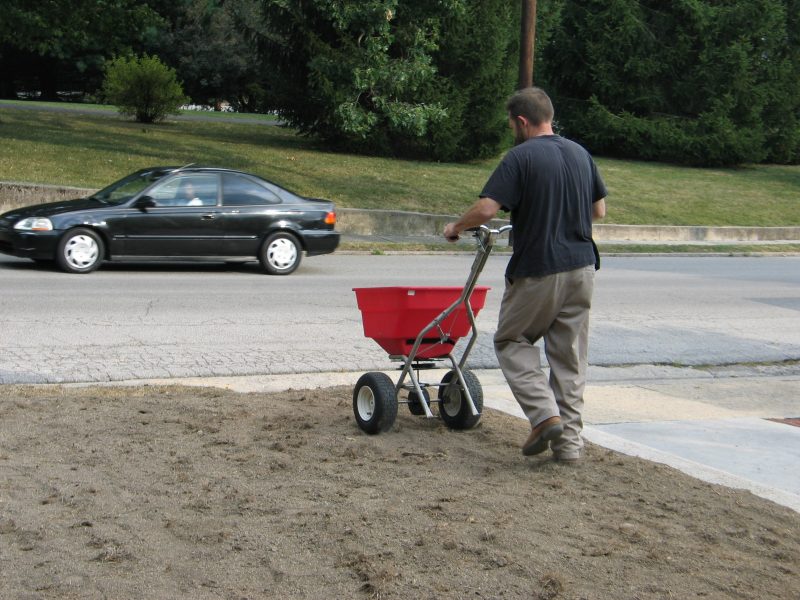
Seeding has basic requirements for how much and how to plant. While there are well defined seeding recommendations for new plantings available in publications from your local Virginia Cooperative Extension office or online on the VCE website, this is a tough question to answer for spot renovations. If there is an area of 500-1000 sq ft that needs repair, then weighing out the appropriate amount of seed (it might range from 1 to 8 pounds depending on the grass selected) and applying it with a rotary or drop spreader over the area is fairly simple. However, for only a few problem spots in a lawn, the last thing one needs is a 50 lb bag of seed, so this is where smaller packages of seed become more cost effective. If at all possible, weigh out the appropriate amount of seed you’re your areas and don’t worry that some of it is applied to grassed areas. One seed per square inch is not enough, but at the same time, seed stacked upon seed so thick that you can not see the soil is likely even worse! While the numbers can never be absolute because of the variability in seed size and weight, for most cool-season grasses a seed count of approximately between 10-15 seed per square inch corresponds fairly well with recommended planting rates for new establishments. Competition among germinating seedlings that are seeded too densely will end up controlling most (if not all) of these plants, so this is a case of too much is not a good thing. And since turfgrass seed are quite small to begin with, don’t bury the seed in the ground if you use a commercial seeder. Planting at 1/3 to ½ inch depths are typical for seed the size of tall fescue, and very small seeded grasses like Kentucky bluegrass can essentially be surface-applied and lightly raked into the soil surface.
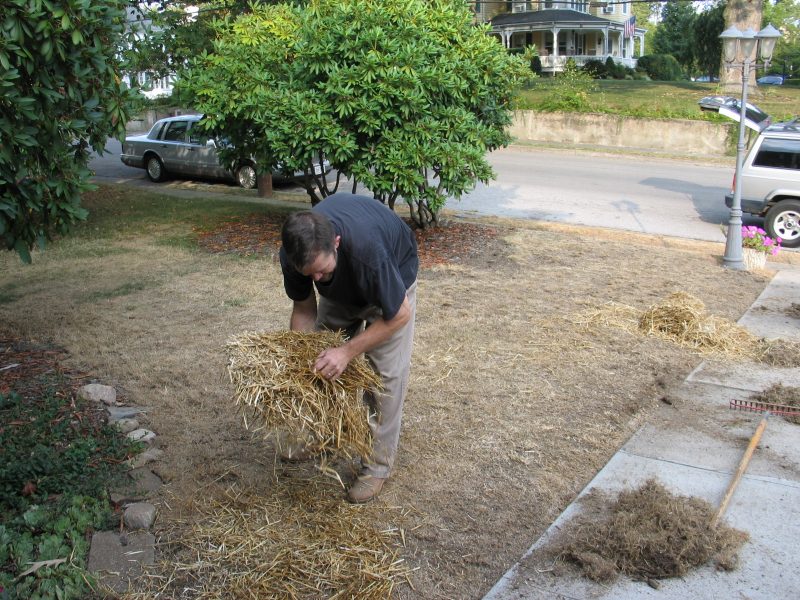
When possible, consider a compost application as part of the renovation. Another valuable tool in partial renovations is a compost application. The compost can be applied either before or during the soil preparation procedures or as a topdressing following seeding. For topdressing, as little as 1/4 inch depth of a quality compost is required. Then, success can be enhanced further by lightly mulching the seeded areas to help conserve moisture, reduce seed movement from rain/irrigation events, and further enhance establishment. Wheat straw works great with about 1 bale/1000 sq ft of area being an appropriate mulching density. The key to the right amount of mulch is that you should still be able to see some of the soil underneath the straw. An advantage to straw mulch is that you don’t have to worry about picking it up after germination is complete. Simply mow the turf when it needs to be clipped and chop the straw right back into the turf canopy. There will be small grain seed (wheat, barley, etc.) that will germinate over the winter, but don’t worry about that – these are annual grasses that will eventually die upon mowing. Do not use hay as a mulch because it will introduce a wide variety of troublesome weeds into the lawn. Also note that there are bagged mulch products made from recycled newspapers available at lawn and garden centers that offer the advantage of being weed/grass free.
Irrigation for establishment? If you have the ability to irrigate a newly seeded lawn, that is the best way to achieve success. However, if you can’t be committed to regular irrigation, then it typically is best to let Mother Nature remain in charge of your establishment and provide rains on her schedule. If you are committed to irrigation, use a ‘light and frequent’ irrigation strategy during the grow-in phase of a newly seeded area. As the grass matures, slowly reduce the irrigation program to a ‘deep and infrequent’ program in order to promote the deepest root system possible.

Don’t discount sod! While not as cheap as seed, sod can actually be a very cost-effective establishment method depending on one’s plans for how soon they will be using the lawn and/or how committed they are to growing in a lawn from seed. Consult VCE Publication 418-040 Sod Source Selection, Installation, Maintenance, and Producers in Virginia for detailed information on how to select and install sod. One advantage of sod is that for spot renovations it can be cut and shaped into various sized patches and the improvement in lawn appearance is essentially immediate. Soil preparation for sod installation is best handled by light tillage and smoothing of the surface prior to installation. Sod is more forgiving in water requirement and frequency than seeding establishments (it still requires regular watering, but on not nearly as frequent of a scale as for seeding) and provides a turf that can handle some foot traffic almost immediately. Rolling the sod after installation to maximize sod/soil contact and smooth the surface further enhances both its appearance and chance for long-term establishment success.
Mowing and Fertilization: Simply put, mow the turfgrass when needed in order to follow the ‘1/3rd rule’ of mowing (never remove more than 1/3 of the leaf blade at a single mowing event). Use a sharp blade, return the clippings to the stand, and make sure the soil is dry enough that you will not create ruts from either mower tire tracks or your feet. When your grass is far enough along in development to be mowed, it makes sense that this is a logical first time to apply some nitrogen (N) fertilizer. Apply no more than 0.7 pound of N per 1000 square feet per active growing month, and in almost any situation in Virginia, it is likely that two N applications at this level (across the months of September thru mid-November) will be more than enough to supply your renovated cool season lawn the N it needs for the fall, as well as next spring when the lawn will greatly increase in density as the fall-seeded plants begin to rapidly produce daughter plants (aka tillers).
Weed Control: Be aware that the use of what are frequently considered as ‘spring preemergent crabgrass control’ products are often made in the fall for winter annual broadleaf weed control, but do NOT apply these products if planning to seed cool-season grasses. Anticipate that you will have some winter annual weeds (especially broadleaf weeds) and that most standard herbicides for their control will have labels that recommend waiting until after the 2nd or 3rd mowing before application.
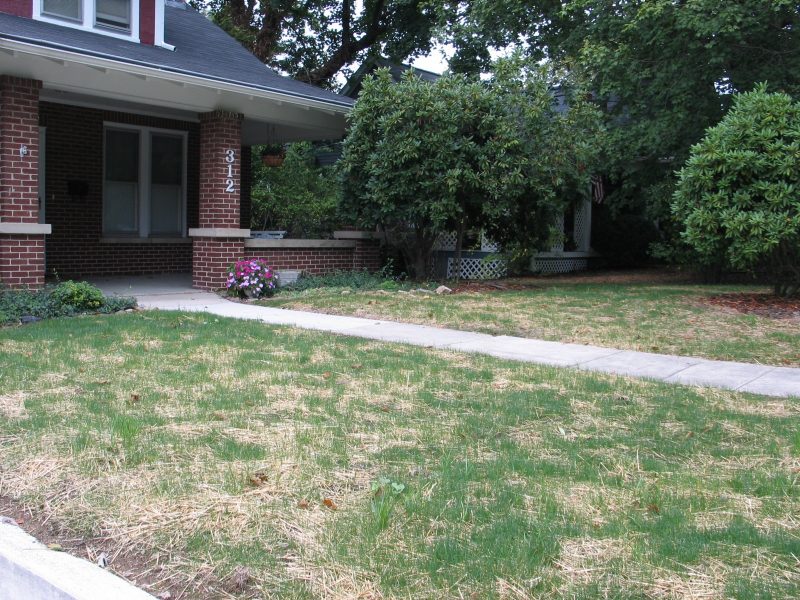
Follow these steps this fall to begin the process of restoring your lawn into not only a thing of beauty, but also one of Mother Nature’s most effective means of water filtration and soil stabilization, as well as a great place for a picnic, a game of catch etc. Virginia Cooperative Extension offers a wide variety of other science-based publications on lawn care that can be found at pubs.ext.vt.edu/.